
Snapseed Presets Nature
Preset Collection Overview
Snapseed presets nature gives you 5 green looks for outdoor photos. This page lists each recipe with its full settings table, so you can copy it by hand in Snapseed.
How to use: No QR code is on this page yet. Copy the settings by hand, save the look in Snapseed, and the QR code will appear here after it is made in the app and scan tested.
How to Save & Create QR Looks on Android vs iPhone
Once you copy these settings onto your photo in Snapseed, here is how to save the Look:
Android Phones (Samsung, Pixel, Xiaomi, etc.)
- Apply tools in order as listed on the recipe card below.
- Tap Export > Save a copy, or tap Styles at the bottom.
- Scroll to the far right of Styles and tap + (New Style) to save.
- To share: Tap top QR icon > Create QR Look.
iPhone & iPad (iOS)
- Apply each tool and slider value in order.
- Tap Looks at the bottom navigation bar.
- Scroll to the end and tap + (New Look) to save to your presets.
- To share: Tap QR icon beside View Edits > Create QR Look.
Rich Green Nature Presets
Rich Green holds 5 looks for green fields, leaves, meadows, forest shade, and green valleys. Each card gives the full settings table from the team's own settings sheet, a before photo, and a LUT after preview.
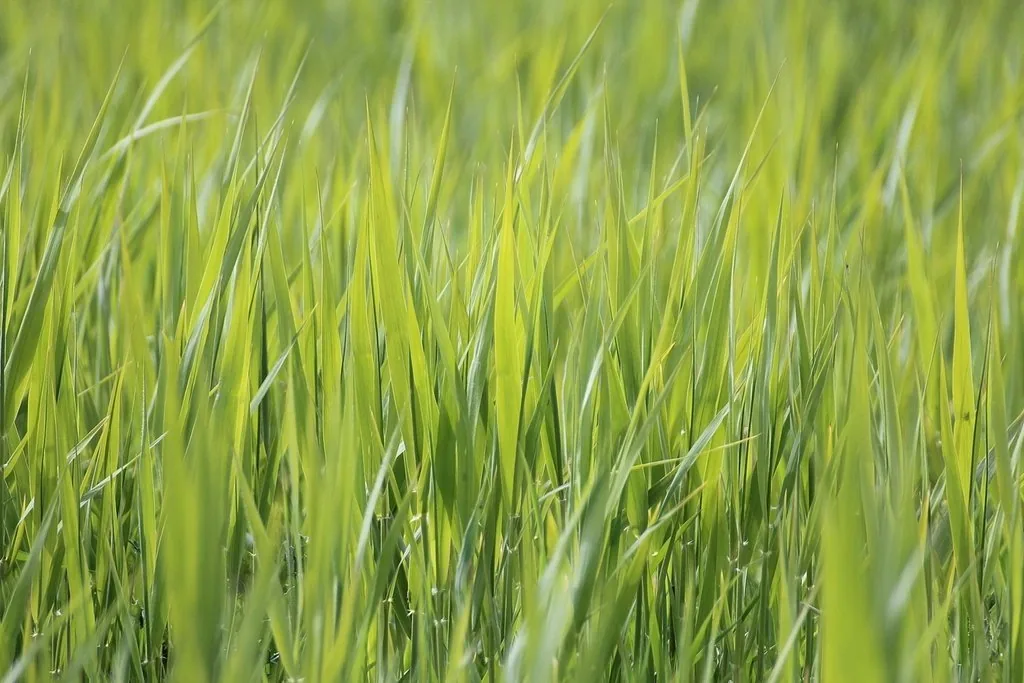
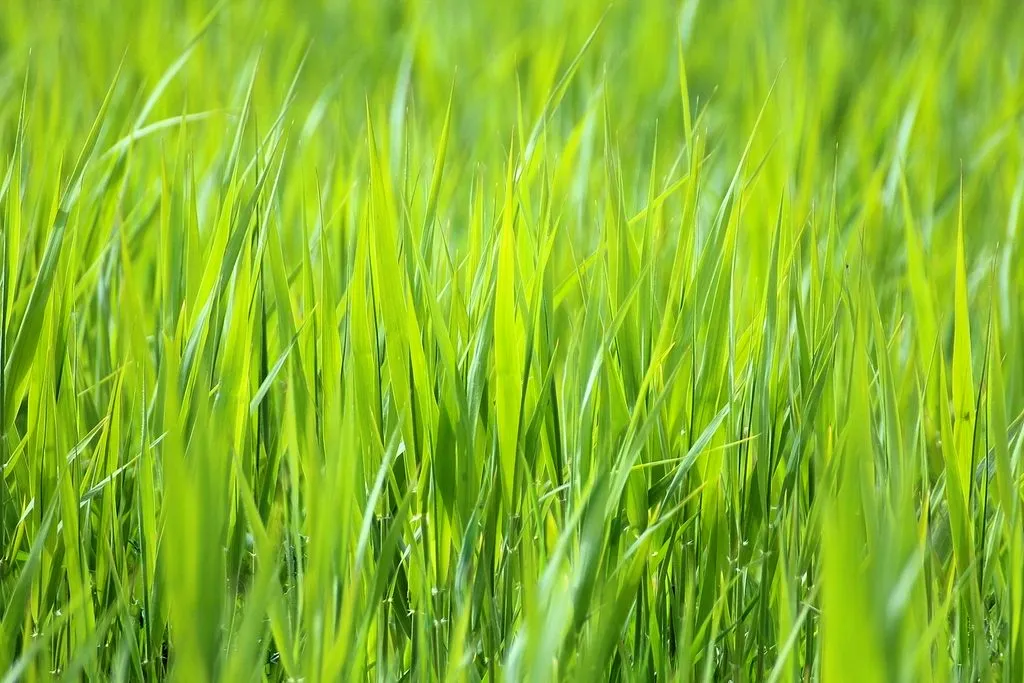
Nature Rich Green 01
Deeper green, clean sky, and soft highlight control so the sky does not blow out.
Best for: green fields and park photos in bright daylight that look flat and washed out
Settings Sheet (Exact Values)
| Snapseed Tool | Slider Setting Value |
|---|---|
| Tune Image | Brightness +10, Contrast +22, Saturation +28, Ambiance +35, Highlights -30, Shadows +18, Warmth -6 |
| Details | Structure +24, Sharpening +18 |
| Curves or RGB | None |
| White Balance | Temperature -8, Tint -6 |
| Filter used | HDR Scape, mode Nature, Filter Strength +38, Brightness +6, Saturation +10 |
| Portrait tool | None |
| Lens Blur | None |
| Other tools in apply order | 1) Selective, one point on the sky (top center), Brightness -12, Saturation +8 |
| Final step | Vignette, Outer Brightness -18, Inner Brightness 0 |
Apply in Order (Sequential Steps)
- 1Tune Image: Brightness +10, Contrast +22, Saturation +28, Ambiance +35, Highlights -30, Shadows +18, Warmth -6.
- 2Details: Structure +24, Sharpening +18.
- 3White Balance: Temperature -8, Tint -6.
- 4HDR Scape: filter mode Nature, Filter Strength +38, Brightness +6, Saturation +10.
- 5Selective: one point on the sky area (top center). With the point active: Brightness -12, Saturation +8. One point only.
- 6Vignette: Outer Brightness -18, Inner Brightness 0. This is the last action before saving the QR Look.
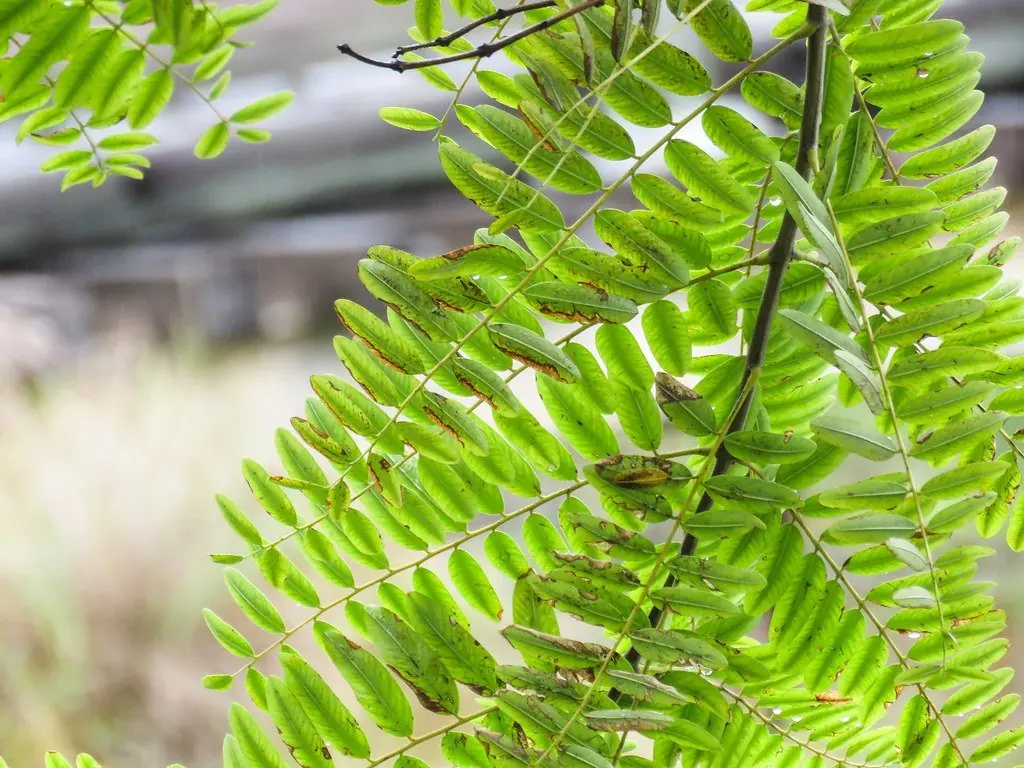
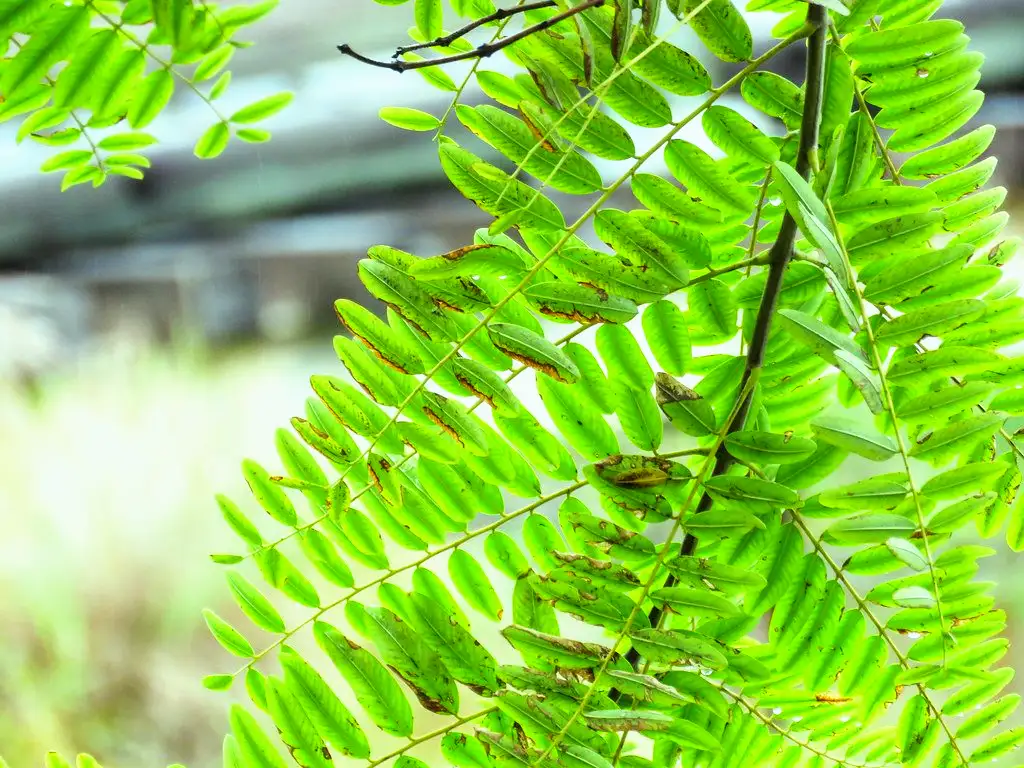
Nature Emerald Leaf 02
Strong structure on leaf veins, deep emerald tone, and shadows opened a little so dark leaves keep detail.
Best for: close photos of leaves, plants, and garden greens where detail matters more than sky
Settings Sheet (Exact Values)
| Snapseed Tool | Slider Setting Value |
|---|---|
| Tune Image | Brightness +4, Contrast +30, Saturation +34, Ambiance +28, Highlights -18, Shadows +26, Warmth -10 |
| Details | Structure +42, Sharpening +26 |
| Curves or RGB | shadows lifted a little, highlights held flat |
| White Balance | Temperature -12, Tint -10 |
| Filter used | None. Tone work is done with Tonal Contrast, listed below. |
| Portrait tool | None |
| Lens Blur | None |
| Other tools in apply order | 1) Tonal Contrast, High Tones +12, Mid Tones +28, Low Tones +18, Protect Highlights 40, Protect Shadows 30 |
| Final step | None after Tonal Contrast. The stack ends at step 5. |
Apply in Order (Sequential Steps)
- 1Tune Image: Brightness +4, Contrast +30, Saturation +34, Ambiance +28, Highlights -18, Shadows +26, Warmth -10.
- 2Details: Structure +42, Sharpening +26.
- 3Curves: shadows lifted a little (raise the bottom left point of the RGB curve by a small step), highlights held flat. One curve step only.
- 4White Balance: Temperature -12, Tint -10.
- 5Tonal Contrast: High Tones +12, Mid Tones +28, Low Tones +18, Protect Highlights 40, Protect Shadows 30.
- 6No vignette on this look. Save the QR Look right after step 5.
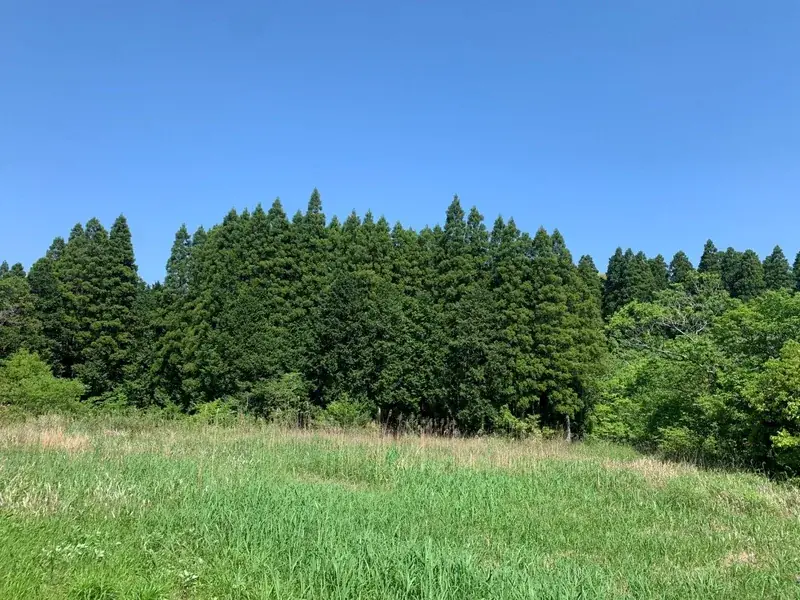
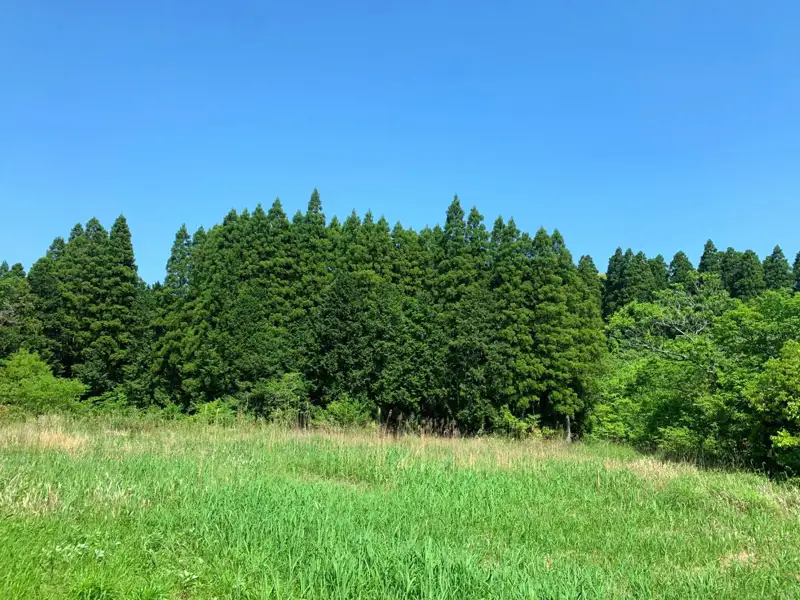
Nature Fresh Meadow 03
Lifted brightness, gentle green, soft glow, and a sky kept pale and clean.
Best for: bright meadow and open grass photos that need a light, fresh, clean feel, not a heavy one
Settings Sheet (Exact Values)
| Snapseed Tool | Slider Setting Value |
|---|---|
| Tune Image | Brightness +26, Contrast +8, Saturation +20, Ambiance +22, Highlights -22, Shadows +30, Warmth +2 |
| Details | Structure +10, Sharpening +12 |
| Curves or RGB | None |
| White Balance | Temperature -4, Tint -4 |
| Filter used | Glamour Glow, Glow +18, Saturation +6, Warmth 0. Then HDR Scape, mode Nature, Filter Strength +16, Brightness +10, Saturation +4 |
| Portrait tool | None |
| Lens Blur | None |
| Other tools in apply order | None |
| Final step | None after HDR Scape. The stack ends at step 5. |
Apply in Order (Sequential Steps)
- 1Tune Image: Brightness +26, Contrast +8, Saturation +20, Ambiance +22, Highlights -22, Shadows +30, Warmth +2.
- 2Details: Structure +10, Sharpening +12.
- 3White Balance: Temperature -4, Tint -4.
- 4Glamour Glow: Glow +18, Saturation +6, Warmth 0.
- 5HDR Scape: filter mode Nature, Filter Strength +16, Brightness +10, Saturation +4.
- 6No vignette on this look. Save the QR Look right after step 5.
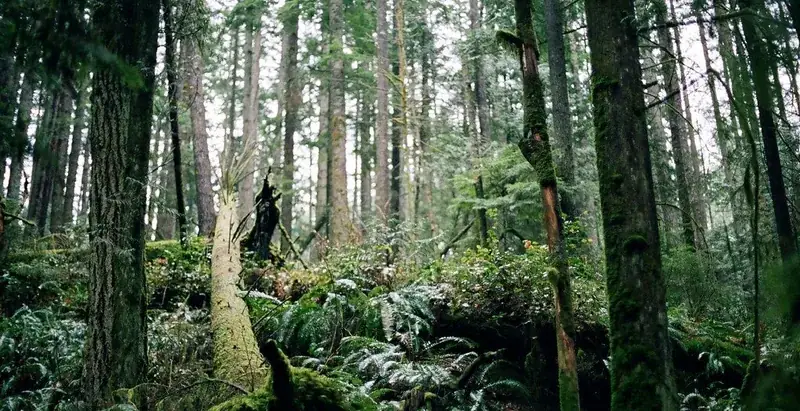
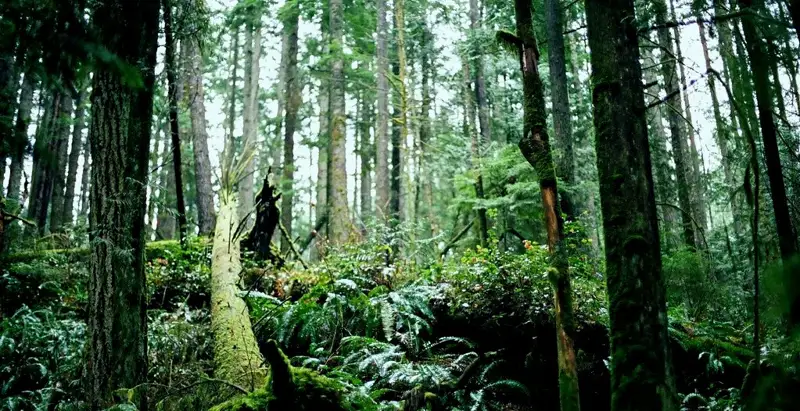
Nature Forest Shade 04
Deeper shadows, cooler green, calm moody tone, and highlights pulled down so light spots between trees stay soft.
Best for: forest, tree shade, and woodland path photos that come out too bright and flat
Settings Sheet (Exact Values)
| Snapseed Tool | Slider Setting Value |
|---|---|
| Tune Image | Brightness -8, Contrast +34, Saturation +18, Ambiance +18, Highlights -38, Shadows -14, Warmth -14 |
| Details | Structure +30, Sharpening +14 |
| Curves or RGB | None |
| White Balance | Temperature -16, Tint -8 |
| Filter used | Drama, style Drama 1, Filter Strength +22, Saturation -6 |
| Portrait tool | None |
| Lens Blur | None |
| Other tools in apply order | 1) Selective, one point on the brightest light spot, Brightness -16, Contrast +6 |
| Final step | Vignette, Outer Brightness -32, Inner Brightness -6 |
Apply in Order (Sequential Steps)
- 1Tune Image: Brightness -8, Contrast +34, Saturation +18, Ambiance +18, Highlights -38, Shadows -14, Warmth -14.
- 2Details: Structure +30, Sharpening +14.
- 3White Balance: Temperature -16, Tint -8.
- 4Drama: style Drama 1, Filter Strength +22, Saturation -6.
- 5Selective: one point on the brightest light spot in the photo (between the trees). With the point active: Brightness -16, Contrast +6. One point only.
- 6Vignette: Outer Brightness -32, Inner Brightness -6. This is the last action before saving the QR Look.
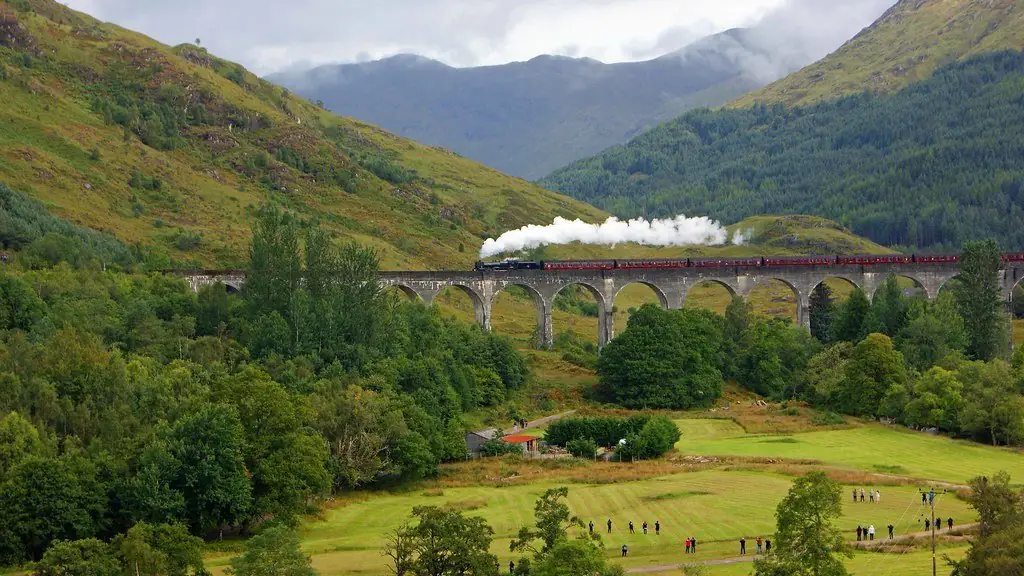
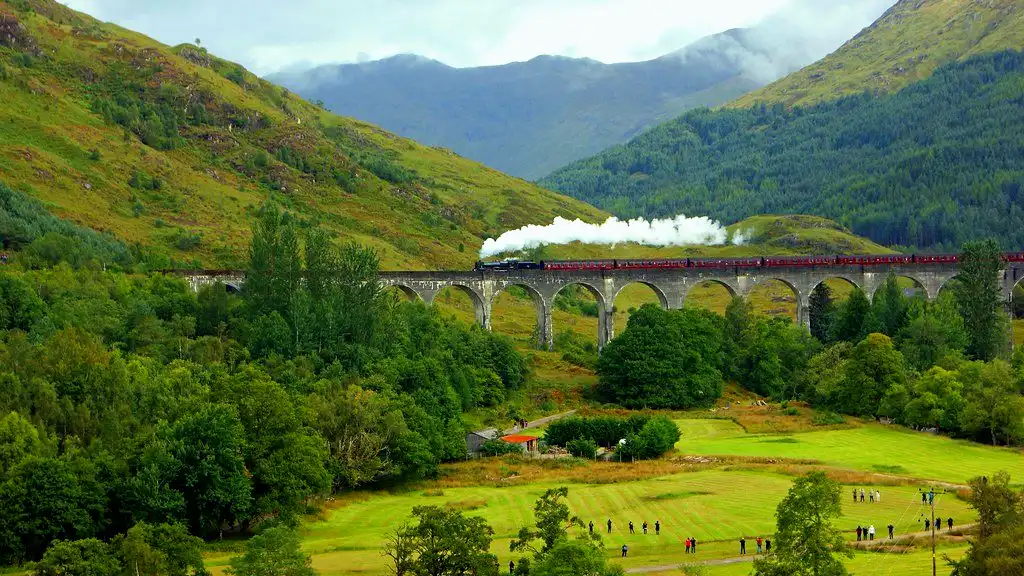
Nature Green Valley 05
Balanced green slopes, richer sky color, and distance haze cut a little so far hills read clear.
Best for: valley, hill, and mountain view photos with green slopes and a wide sky
Settings Sheet (Exact Values)
| Snapseed Tool | Slider Setting Value |
|---|---|
| Tune Image | Brightness +8, Contrast +26, Saturation +26, Ambiance +40, Highlights -26, Shadows +20, Warmth -4 |
| Details | Structure +28, Sharpening +20 |
| Curves or RGB | highlights lowered a little, shadows left as they are |
| White Balance | Temperature -6, Tint -5 |
| Filter used | HDR Scape, mode Nature, Filter Strength +30, Brightness +4, Saturation +8 |
| Portrait tool | None |
| Lens Blur | None |
| Other tools in apply order | 1) Selective, one point on the sky (top third), Saturation +14, Brightness -8 |
| Final step | None after Selective. The stack ends at step 6. |
Apply in Order (Sequential Steps)
- 1Tune Image: Brightness +8, Contrast +26, Saturation +26, Ambiance +40, Highlights -26, Shadows +20, Warmth -4.
- 2Details: Structure +28, Sharpening +20.
- 3Curves: highlights lowered a little (pull the top right point of the RGB curve down by a small step), shadows left as they are. One curve step only.
- 4White Balance: Temperature -6, Tint -5.
- 5HDR Scape: filter mode Nature, Filter Strength +30, Brightness +4, Saturation +8.
- 6Selective: one point on the sky area (top third). With the point active: Saturation +14, Brightness -8. One point only.
- 7No vignette on this look. Save the QR Look right after step 6.
How to Use a Recipe on This Page
Each recipe on this page is a settings table, not a QR code image. Work through the tools in the order listed on the card, and set each slider to the value shown.
- ✓1. Open your photo in Snapseed.
- ✓2. Apply each tool in the order shown on the recipe card.
- ✓3. Save the edit as a Look in Snapseed.
- ✓4. Open the Look, tap QR Look, then tap Create QR Look.
- ✓5. Save or share the QR image at full size.
About the After Photos on This Page
The after photo on each card is a LUT preview, not a real Snapseed export. It shows tone and colour only, from a .cube colour file made on a computer. It does not show the full Snapseed edit stack, such as HDR Scape, Selective, Vignette, and Structure. Each preview is replaced with a real Snapseed export when its QR code passes its scan test.
Frequently asked questions about nature presets
Will a nature preset look the same on every photo?
No. Light, time of day, and the green in your photo change the result. Start with the recipe values, then adjust Brightness and Saturation a little for your own photo until the green looks right.
Which recipe fits a forest photo in shade?
Nature Forest Shade 04 fits forest, tree shade, and woodland path photos. It pulls Highlights down and deepens shadows, so bright spots between trees stay soft.
Can I use these nature recipes on a photo with people in it?
Yes, but check skin tones after you apply the recipe. These looks push green hard, so lower Saturation a little if skin starts to look green.
Keep reading about nature presets
Checked: 2026-10-21, against the Snapseed tool set (Tune Image, Details, Curves, White Balance, HDR Scape, Glamour Glow, Tonal Contrast, Drama, Selective, Vignette).
Recipes written 2026-10-21 from the team's own settings sheets; values sit inside the real Snapseed slider ranges. No code on this page has a scan test yet; P04-02 QR decodes valid but its in-app scan test is pending.