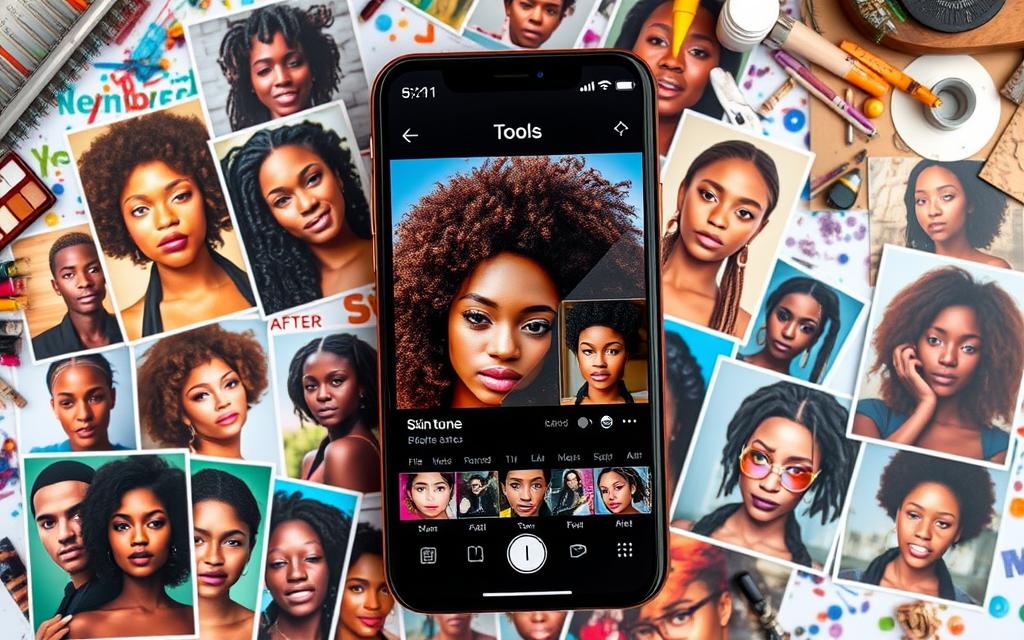
Ever wanted to make your portrait photos look flawless? Whether you’re a pro or just for fun, knowing how to adjust skin tones is key. Snapseed, a top mobile photo app, makes it easy to get that perfect skin tone.
Key Takeaways
- Discover Snapseed QR Codes key editing tools that can transform skin tones
- Learn how to prepare your photos for seamless skin tone adjustments
- Master the use of the Selective Tool and Brush Tool for precise skin editing
- Optimize brightness, contrast, and color balance for natural-looking results
- Leverage the “Portrait” filter to enhance facial features and skin
- Fine-tune your edits using the Healing Tool for flawless, blemish-free skin
- Efficiently export and share your edited images on social media
In this guide, you’ll learn how to adjust skin tones in Snapseed. You’ll see how to brighten, smooth, or balance your photos. Get ready to improve your photo editing skills and make your images stand out.
Understanding Snapseed and Its Features
Snapseed is a powerful photo editing app. It has many tools to enhance your images, including skin tone adjustments. Explore its easy-to-use interface and learn how it can make your portraits look professional.
Overview of Snapseed as a Photo Editing Tool
Snapseed is a versatile photo editing app. It offers a wide range of features to help you enhance your images. You can make basic adjustments like brightness and contrast, or advanced techniques like selective color corrections. Snapseed makes it easy to fine-tune your images with precision.
Key Editing Tools That Affect Skin Tones
Several key tools in Snapseed are essential for adjusting skin tones:
- The Selective tool lets you make targeted adjustments to specific areas, like the face or skin, without changing the rest of the photo.
- The Brush tool allows you to apply localized edits. This helps refine skin tones and address blemishes or uneven areas.
- The Portrait filter enhances skin texture and luminosity with just one click. It gives your images a polished and professional look.
Mastering these tools lets you fine-tune your subject’s skin tones. This ensures a natural and harmonious appearance in your edited images.
| Tool | Description | Impact on Skin Tones |
|---|---|---|
| Selective | Allows for targeted adjustments to specific areas | Enables precise control over skin tone adjustments |
| Brush | Applies localized edits to refine skin texture and blemishes | Helps achieve a flawless, even skin appearance |
| Portrait | Applies a one-click filter to enhance skin luminosity | Adds a polished, professional look to skin tones |
By using Snapseed’s versatile editing tools, you can unlock your creative abilities. Transform your portraits into captivating, skin-tone-enhanced masterpieces.
Preparing Your Photo for Skin Tone Adjustment
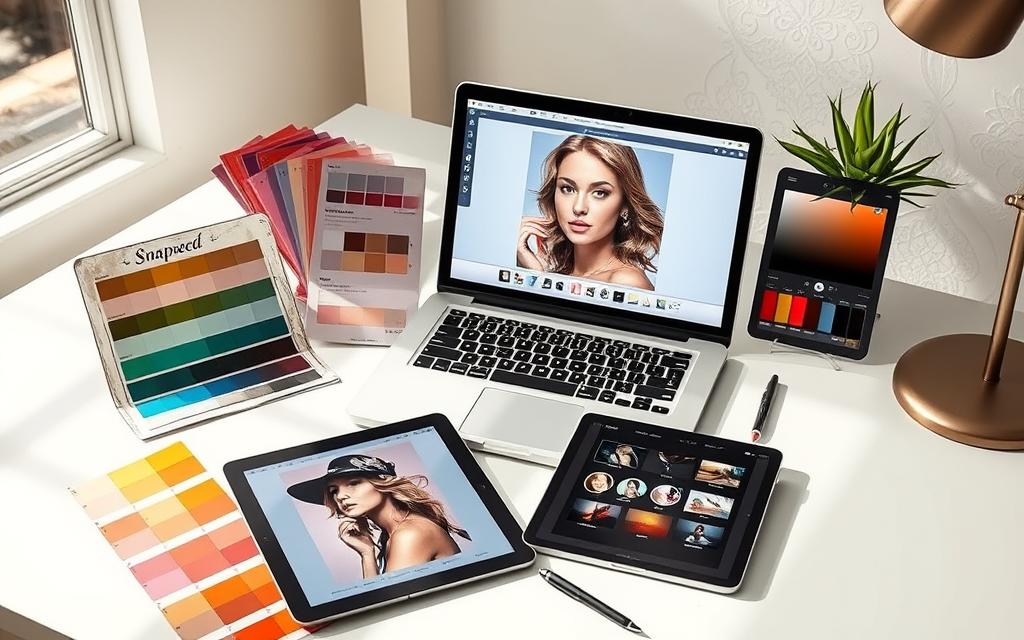
Before you start adjusting skin tones in Snapseed, make sure your photo is ready. Choose the right image and do some basic edits. This will help you get the best color correction.
Choosing the Right Image
Not all photos are good for skin tone correction. Look for images with natural, even skin tones. Stay away from photos that are too edited or filtered.
These can make color correction hard. Choose photos that show your subject’s real skin tone well.
Basic Adjustments Before Color Correction
After picking your image, make some basic changes. First, check the exposure and adjust it if needed. This ensures the photo is bright enough.
Then, boost the contrast to make skin tones stand out. This makes the photo look more alive. Lastly, fix the white balance to remove any color casts.
This way, your subject’s skin will look natural and real. By following these steps, you’ll be ready for a smooth skin tone correction in Snapseed. You’ll get professional-looking results.
You can also explore Snapseed for Portrait Retouching to refine portrait details and enhance the overall appearance of your subject.
Accessing the Tools for Skin Tone Adjustment
Adjusting skin tones in photos with Snapseed image editing app is all about the right tools. Snapseed has many editing features. Knowing how to use them well is key for natural-looking photo editing tutorial results.
Finding the Selective Tool
The selective tool in Snapseed is very powerful. It lets you pick specific parts of your image for precise changes. To find it, go to the “Tools” menu and choose “Selective”. This lets you focus on skin tones and make changes without messing up the rest of the photo.
Using the Brush Tool Effectively
- The brush tool in Snapseed is key for Snapseed editing skin tones.
- With this tool, you can paint over skin areas you want to change. This gives you detailed control over the adjustments.
- Try different brush sizes and feathering to blend edits smoothly. This helps get natural-looking results.
Learning to use the selective and brush tools in Snapseed well lets you fine-tune skin tones in photos. This ensures your final image looks flawless and appealing.
Making Skin Tone Adjustments in Snapseed
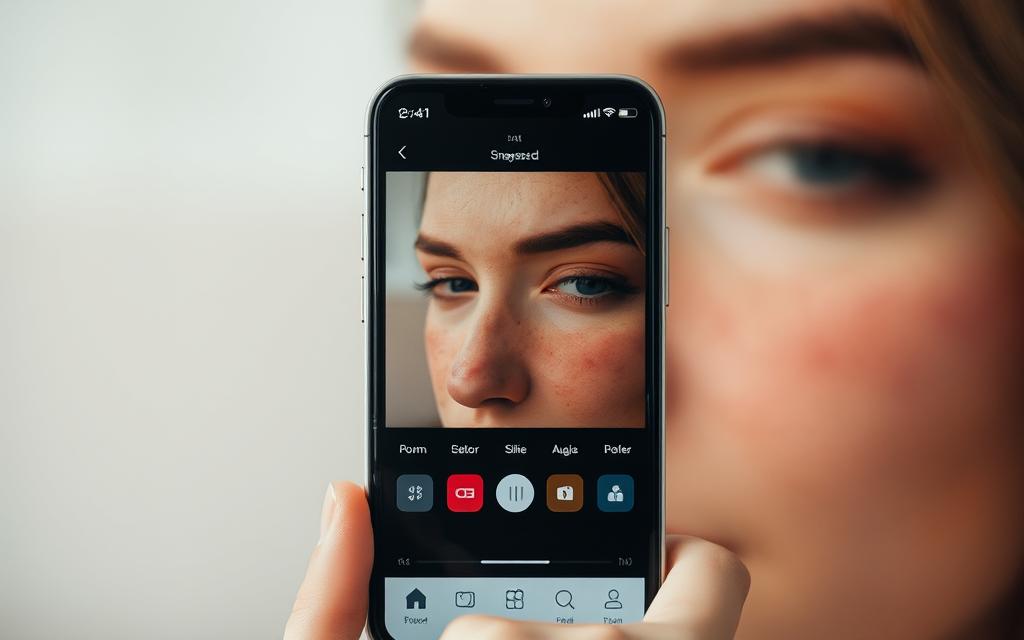
Learning to correct skin tones in Snapseed is a big deal for portrait photos. You can make dull skin look bright and natural with the app’s tools. Here are the main steps to get flawless skin.
Brightness and Contrast Settings
Start by adjusting the brightness and contrast of your photo. Use Snapseed’s “Brightness” and “Contrast” sliders to get it right. Try different settings to make your subject’s skin glow without losing details.
Adjusting Color Balance
Getting the color balance right is key for natural skin tones. Snapseed’s “Tune Image” tool lets you tweak warmth, saturation, and color temperature. Adjust these to fix any skin tone issues and make it look even.
Using the “Portrait” Filter
The “Portrait” filter in Snapseed is great for skin tones. It smartly adjusts the face to smooth skin and reduce blemishes. Play with the filter’s strength to match your subject’s natural look.
With these tips, you can make skin tones look natural in Snapseed. Your portraits will show off your subject’s best features. Just remember, small, careful changes are best to keep the skin looking real.
Fine-Tuning Your Edits for Natural Results
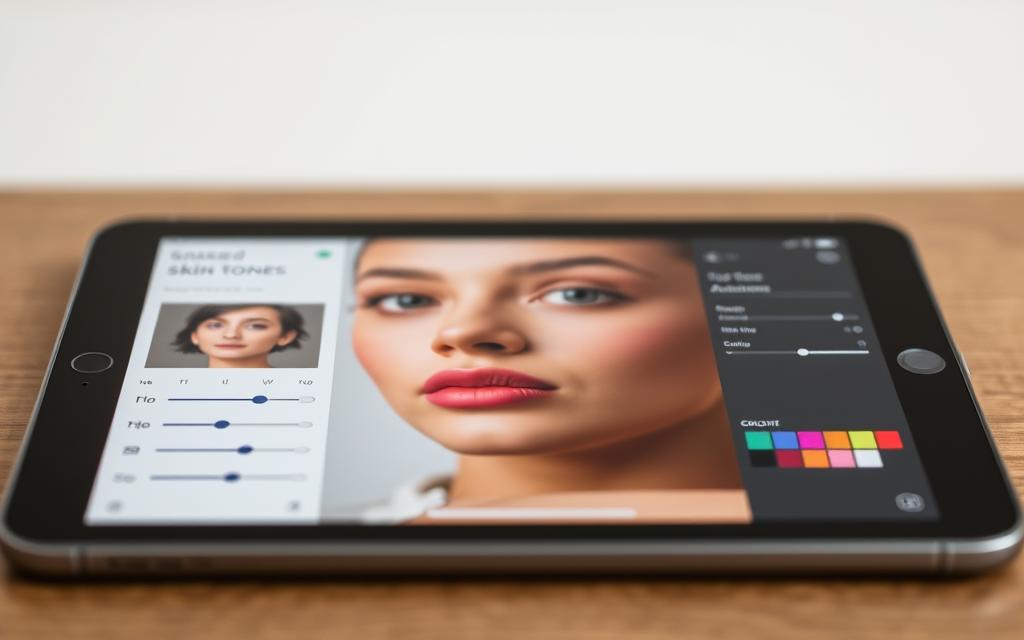
Getting a flawless skin tone in portraits is tricky. First, adjust brightness, contrast, and color balance. Then, fine-tune your edits for a natural look. Use Snapseed’s healing tool to smooth and perfect your subject’s skin.
Comparing Before and After Adjustments
Compare your edited image with the original. Zoom in on skin changes. Check if they look natural or not.
This step helps you see where you need to make more changes.
Utilizing the Healing Tool for Flawless Skin
- Open the Healing tool in Snapseed and choose areas to smooth or remove blemishes.
- Adjust the brush size to target specific imperfections without affecting the skin around.
- Apply the Healing tool gently, blending the edited areas into the natural skin for a flawless look.
- Keep repeating this, focusing on keeping your edits natural and soft.
Mastering these skin smoothing techniques lets you do pro-quality portrait retouching on your phone. With practice, your photo editing tutorials will show off stunning, natural results that grab your audience’s attention.
Saving and Sharing Your Edited Images
After you’ve fine-tuned your photos with Snapseed, it’s time to share them. Saving your images in the right format keeps them looking great everywhere. This is key for showing off your work on different devices and platforms.
Exporting Your Final Image
Snapseed makes it easy to export your photos in the format you want. You can choose high-quality files for printing or smaller images for social media. Play with the export settings to get the best look and size for your photos.
Tips for Social Media Sharing
Sharing your edited photos on social media is rewarding. Make sure your photos fit the right size for each platform. Use hashtags and captions to show off your skills and connect with your followers. A few steps can help you share your amazing photos and inspire others to edit their own.
FAQ
What is Snapseed and how can it help with skin tone adjustment?
Snapseed is a mobile photo editing app. It has many tools to enhance your photos. You can adjust skin tones to get natural and professional-looking portraits on your phone.
What are the essential tools in Snapseed for skin tone adjustment?
Snapseed has the Selective and Brush tools for skin tone adjustments. The Selective tool targets specific skin areas. The Brush tool makes precise adjustments. Brightness, Contrast, and Portrait filter also help fine-tune your skin tones.
How do I prepare my photo for skin tone adjustments in Snapseed?
Prepare your photo before adjusting skin tones. Choose a well-lit image with good exposure. Make basic adjustments like exposure correction and contrast enhancement. This creates a solid base for your edits.
How do I use the Selective and Brush tools in Snapseed to target specific skin areas?
Use the Selective tool to isolate skin areas like the face. The Brush tool makes precise edits for small areas. Learning to use these tools well is key to natural-looking results.
What are the best techniques for adjusting skin tones in Snapseed?
Adjust Brightness, Contrast, and Color Balance for skin tones. The “Portrait” filter can also enhance skin. Compare before and after edits. Use the Healing tool to remove blemishes for a flawless look.
How can I save and share my edited images from Snapseed?
Save your edited images in high quality from Snapseed. When sharing on social media, consider the platform’s requirements. Optimize your images to look great on different devices.
